While strolling through a typical Irish garden on a typical Irish afternoon, with typical Japanese drums going bananas in the background and typical Japanese outfits on the not so typical people wandering around in our vicinity, a friend of mine posed me the question: so you’ve got this awesome NAS – can you use it to backup your iPhones? His question was specific to pictures, which is a function that iPhones do particularly well, as much as it galls me to admit it. He has limited space on his phone, and limited space on his laptop, and spends far too much time in the nuclear stockpile/ Chinese puzzle game of moving data around various USB drives, his laptop and his phone to try and fit everything in. This always leads to 2 things:
- First, the photo that you want is always on a device that you can’t find, or don’t have the cable for.
- Second, you’re probably going to lose something.
So I took this question away with me, away from the eclectic Japanese Culture explosion and my friend, who was by that stage tired of hearing me talk about old computer games and even older cameras, and cogitated on it.
The Problem with iPhones
iPhones are notoriously locked down. When it comes to file systems and iPhones, ‘there is no spoon’. There is no filesystem. There are only ‘photos’ and ‘documents’ You can’t just say ‘where are my files’ and setup a job to copy them off at a convenient time, as you would be able to do with anyone one of these 40 android apps. iPhones want you to use iTunes, which is program that is the enemy of anyone that used a computer for longer that 5 minutes. iTunes and iPhones abstract the details away from you so destructively that it’s impossible to apply the usual logic of safe file handling to these products.
What is safe file handling? Well, seeing as how I’m being opinionated (this is MY blog after all), lets define safe file handling as:
- Simple: you, the user, should be easily able to understand what is happening. You should be able to easily identify a set of things to backup, the place you want them to go, and how often you want it to happen.
- Repeatable: you should be able to perform the same operation again and again. Every time you take a picture, or plugin your phone or join your wifi network, a ‘backup’ operation should happen against a set of files. This operation should have the same effect, always.
- Safe: You should have some guarantees that name clashes and connections failures don’t result in lost data.
iTunes, by definition, can’t give you these characteristics. It’s not running on your phone. It’s not a server application, so it’s not ubiquitously around. It’s so simple that it’s not useful. iTunes’ main use case seems to be to make you so frustrated at how badly it manages your own media that you just say ‘fuckit’ and use the apple cloud services.
So, where does that leave us?
Well, by design, on an Apple hardware product, once you’ve shunned the Apple software, you’re out in the cold.
What about the cloud?
Something that might be suggested is a cloud service like Dropbox or Apple iCloud. That is ruled out for 3 reasons:
- Cloud services are just another place. One of the things we want to do is consolidate storage and not fragment it more.
- Cloud services are expensive. If you want to consolidate storage in a cloud service, it’s going to be expensive.
- There is no such thing as the cloud. There’s only other people’s computers. Just ask Jennifer Lawrence.
So no public cloud. No Google, no Dropbox, no iCloud, no Amazon, no Facebook.
So what does that leave? We’ll we’re back to the NAS. But how do you get stuff onto the NAS?
Enter NextCloud!
NextCloud is like dropbox, but the bit that goes in the cloud, except that instead of it being the cloud, it’s on your nas, or at least in your home. That bit is the NextCloud server. You still need the bit that goes on your computer or phone: the NextCloud desktop client or app. But the magic is in the NextCloud server.
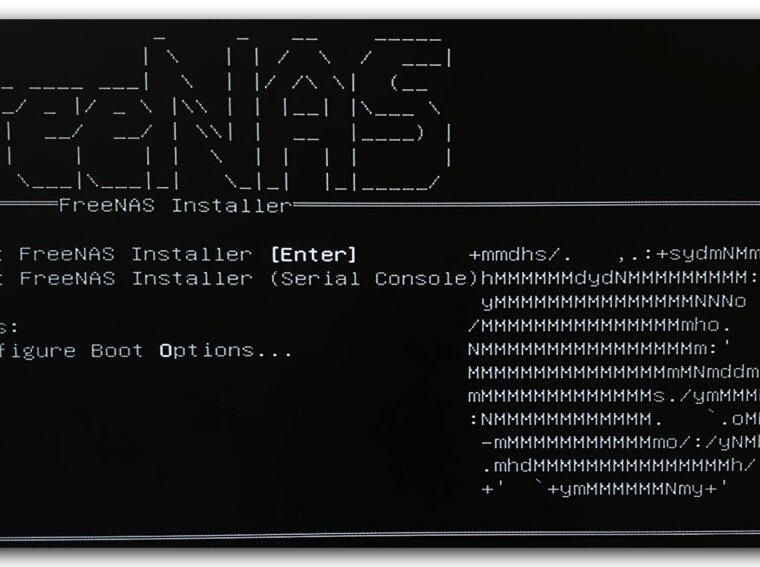
If you’re like me, and you’ve made great personal choices in life including running FreeNAS as your repository of data and happiness, then you get NextCloud for free. Simply install the NextCloud plugin and you’re 99% of the way there.
If you’re not like me, and you’ve yet to discover the unbridled joy that is FreeNAS, then you’re going to have to look for a few ways to host NextCloud.
- You could install it on your laptop. If you’re running out of space on your laptop then running a mysql and apache server on your laptop probably wont help that a lot, but there is a really good use case for getting your photos off your phone and onto your laptop easily, provided you’ve got somewhere to put them after that.
- You could get a raspberry pi and cheap hard drive and setup a NextCloud server on the cheap. Something like syncloud or the NextCloud Box, or something you put together yourself like this guy
- You could buy a NAS that supports NextCloud either directly via a plugin or via a Docker Image e.g. the Qnap Containter Station.
I’m not going to lie, it’s sometimes not 100% straight forward to setup a NextCloud instance. Depending on what you get, and the level of support, and your access to nerdy friends that do this stuff for fun, your mileage may vary. The most cost effective is probably raspberry pi option, but it is the ugliest, and it is probably the most manual to setup. The NAS option is probably the most expensive, just because you’re paying for hard drives and special magic Qnap or Synlogy sauce.
In any event, you once you have a server installed and available, navigate to your NextCloud webgui, and make yourself a new username and password.
I have NextCloud. Now what?
Once you’ve got a NextCloud server, you need to install the NextCloud app.
The next think you need to do is log into your NextCloud server. Use the url that you used to get to the NextCloud web application, and the username and password that you just created.
Once that’s done you’re almost there. The one last thing you have to do is go to the settings part of the app enable automatic image upload. If you’re only uploading to your home server, then select the option to only use wifi connection.
Another tip for the more OCD folks out there: select the option to put photos in folders organised by date. If you take a lot of photos (like one or two a day), having a massive folder of photos with no discernible structure is a touch disconcerting.
At this point I have to put out a disclaimer: This works like a charm on my iPhone 8. It didn’t work so well on my wife’s iPhone 6. For some reason, the 6 would queue up files and then just sit there. Put on my cynical developer hat, it smells like some bad error handling in the upload/ queue functionality that is only there on the iPhone 6. NextCloud being open source, I could probably crack open the source and see for myself…
And there you have it. Your photos are now on your NAS. With any luck you can now hunt about and consolidate the other photos you’ve taken onto your NAS too.


